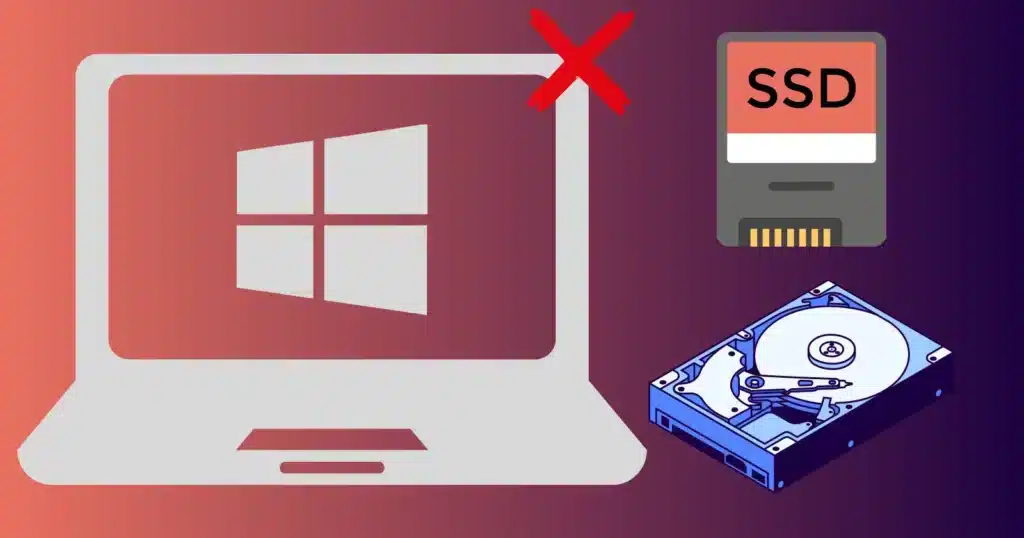
Hard Drive not showing to Windows 10 is one of the crucial errors that can be caused by a connection issue, file system error, drive letter conflict, drive with the outdated driver, etc. The hard drive is a large source of saving your local information i.e. files, software, and other important data to carry on your activities on a PC.

Image: SoftMany
In case of a Hard Drive not showing up in Windows 10, the first thing that comes to mind, our important data has been corrupted or removed. So, in the article, we will discuss different reasons and their solution to fix the issue.
Why doesn’t my External Hard drive not show up?
If your Hard Drive is not showing up on connecting with your PC, it may be because of multiple reasons such as;
- Minor corruption in your PC.
- Physical damage to the hard drive.
- Error in the file system.
- Conflict between drive letters.
- Outdated drivers
How to Fix My Hard drive is not showing up in Windows 10?
You need to fix the issue as soon as you recognize it. So in our guide, we will discuss easy-to-follow steps for troubleshooting the problem.
Method 1: Fix Windows 10 doesn’t recognize the Hard Drive.
If your hard drive no matter, if it is old, new, external, or internal suddenly hides and doesn’t show up in File Explorer or Disk Management. Don’t worry; it is a common issue because of some minor inconvenience or malware. First, check the rooting point of the problem and right-click the This PC. option, and select Manage.
The next step is to find the hard drive is missing as not initialized and has unallocated space. If the hard drive exists here, the drive is not showing up in File Explorer. Now you need to follow the given steps to initialize it.
- Select Manage by clicking This PC from Windows 10 File Explorer.
- Select Initialize Disk by right-clicking the new hard drive from Disk Management.
- A dialog box will appear for you to select your required disk to initialize while selecting the MBR or GPT partition.
You need to create partitions;
- Open your device, click on This PC, and select Manage and next Disk Manager Option.
- Select New Simple Volume by right-clicking the unallocated space.
- Tap to the Next button from the New Simple Volume.
- Now follow instructions from the New Simple Volume to manage Volume Size, Assign a Drive Letter to the Volume, and finally Format the Partition.
Method 2: Fix the issue using another Assign Letter
A unique letter is devoted to all drives as soon as they are created such as C: which is the default letter of Windows drives. Sometimes, simply changing in name of the letter can fix the issue. You need to follow the given steps;
- Select the Change Drive Letter and Paths option by right-clicking Disk Management.
- You are directed to a new Windows; tap to Change. option, and assign a new drive letter to your USB, and press OK. button.
- The issue will be fixed, but you need to cover the suddenly created unallocated space during the process. The simple solution is to create a new disk volume to use it again.
Method3: Fix the issue using Formatting
In the case of using an external drive, commonly the disk is not formatted, you need to format the disk to fix the issue because the different format from FAT32 or NTFS isn’t in the position to recognize the hard drive.
- Go to your Disk Management option and right-click on external.
- Locate the Format. option.
- Pick the option to follow on-screen instructions.
Method 4: Fix the Issue using Update Drivers option
Outdated drivers are also the main reason for not showing your hard drive or other such technical issues. You need to update the drivers by following the given steps;
- Open your device, and type Settings on the search bar to open it.
- Select Update and Security from the Settings option.
- Click on the Windows Update option to select the Check for Updates.
- Wait a few seconds, in case any update is available on Windows Update, it will be installed automatically.
You can use the Device Manager Option for updating the drivers as well. Simply follow the given steps;
- Open your device, and type Device Manager in the search bar.
- Expand Device Manager and check the hard drive.
- Right-click on Update driver to precede the process.
Method 5: Fix the issue using Chkdsk
Checkdisk or Chkdsk is the built-in command line in Windows that is used for troubleshooting issues related to drivers. You can use it to recognize the external hard drive by following the given steps;
- Open your device, and type Command Prompt in the search bar.
- Click on Run as Administrator.
- Type chkdsk /f x: command and hit the Enter key.
- Wait to complete the process and check if the issue is fixed or not.
Method 6: Fix the issue using BIOS
You can fix the issue by enabling the hard drive in BIOS, as in case of disabling of the hard drive from BIOS can also be the reason for not showing the hard drive;
- Open your device, and reboot it, as soon as the Windows logo appears.
- Enter BIOS by clicking F2 or DEL option for few times.
- Check if the hard drive is available in the drop-down menu with the name of the connected drives.
- If the hard drive is available in the connected drives list, then, click to disable it, and again click to enable it.
- Exist from BIOS and restart your PC.
Method 7: Fix the issue using another Port/Cable
A faulty wiring or damaged port can also be the reason for hard drive malfunction. So you can fix it by using another USB port or connecting your hard drive with another STAT port on the motherboard of the PC. If nothing progresses, then you need to try another cable, Simply plug in the drive and if it doesn’t show power, you should change the power cable. Keep in mind, that the changing port or cable requires some technical skill.
Method 8: Fix the issue using Troubleshooter
Running a hardware troubleshooter is one of the best solutions to find out multiple common issues. You need to follow the given steps;
- Open your device, and type Settings on the search bar to open it.
- Select Update and Security from the Settings option.
- Click on Troubleshoot from the left panel, and tap to Run the Troubleshoot? from the Hardware and Device option on the right panel.
- You are directed to a new window with an analysis of all issues related to hardware.
- Follow on-screen instructions to complete the entire process on the wizard.
Method 9: Fix the issue using the Data Recovery Tool
Use the Disk Management tool to show the hardware by partitioning. In case of a lost partition, you need to create new partitions and recover your lost data easily. Just keep in mind, that the Disk Management tool isn’t capable of recovering the lost portions. You have to get help from a third-party tool such as Disk Drill, industry-leading software for restoring the lost or removed partitions of the hard drive. You need to follow the given steps;
- Download and install the software on your PC, and launch it.
- Make sure the hard drive has been plugged into the PC.
- Open the devices list and select the drive option.
- Tap on Search Lost Data.
- It will start the scanning process that is according to the drive size.
- On completing the scanning process, click on Review found items.
- Select your required item from the search results.
- Select Recovery destination, click on OK, and next on Recover.
Concluding
So friends, as we know, a hard drive is an important part of a PC. In case of some issues accrued on the hard drive i.e. hard drive is missing, and not showing up, we have to face a lot of problems. But with some skill, we can sort out the issue. In our detailed guide, we hope you can get a lot of help to open a hard drive in your Windows 10.
FAQs
Go to the computer and click on This PC.
Select Hard Drive, and click on Properties.
Click on Tools > Error Checking > Check now > Check local disk > Start.
Turn off all running apps and activities.
On completing the checking process, restart your PC.
Use a 300-watt power supply for a normal PC, as ATA/SATA can’t detect HDD in BIOS.
Constant delivery of error messages
Removing of files and folders
Irregular system crashes and disk errors
OS won’t boot
S.M.A.R.T monitoring displays an error with the HDD
Yes, it can help in checking the current state of information on your disk, and repair formatting issues with HDD.
The factory reset is the best solution to reinstall and update Windows without damaging personal data and Windows settings.


