A Bootable USB is one of the most authentic processes to allow users to install a new version of Windows 10, 11 or 7 from a Bootable USB on their device. Most of us prefer to use CD or DVD drives for this purpose but in case of not working properly with a CD or DVD, a bootable device is the best choice. Another major point is the decline of CD or DVD drives by the latest computers and laptops, but for games and movies, DVD or CD drives are still important.
Image Cradit: GuidesMany
In the post, we will discuss details of bootable USB, and how it is used for creating installation media for several Windows OS i.e. Windows 10, Windows 8.1, and Windows 7. The entire process is simple and enables you to install or reinstall your Windows using USB.
How to use Media Creation Tool for creating Windows (11/10/7) bootable USB?
First of all create installation media, as it easily enables the computer to detect USB, when it is connected to it. You need to follow the given steps for creating a bootable USB drive with the help of the Media Creation Tool;
1. Download the installation media you require from Microsoft i.e. Download Windows 10, Download Windows 11 Disc Image (ISO File), and Download Windows 7 Disc Images (ISO Files).
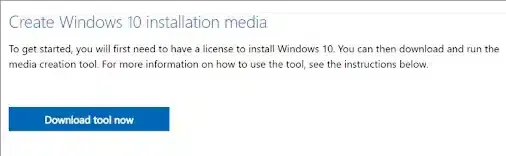
2. Select your required version of Windows, and download it by following the on-screen instructions, you have to enter your Windows product key to verify the version of your device for the downloading process.
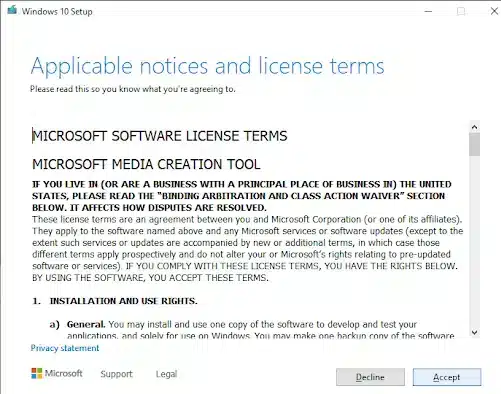
3. Download and install the Media Creation Tool on your device by clicking on Accept and clicking on the Agree option for software license terms.
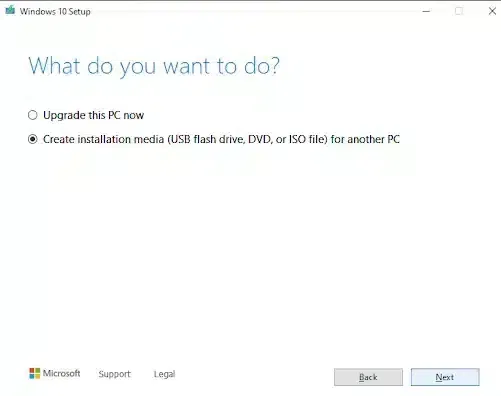
4. Select Create Installation Media and tap on the Next button.
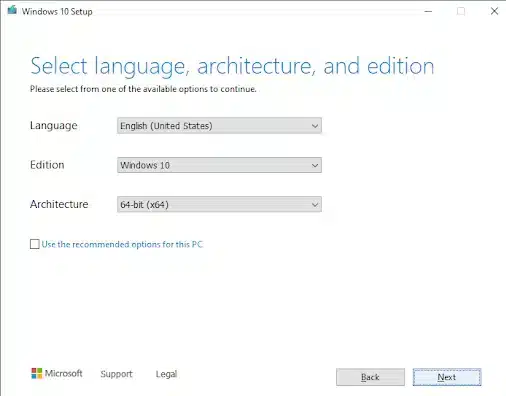
5. Follow on-screen instructions for selecting your language, Windows edition, System Architecture, etc.
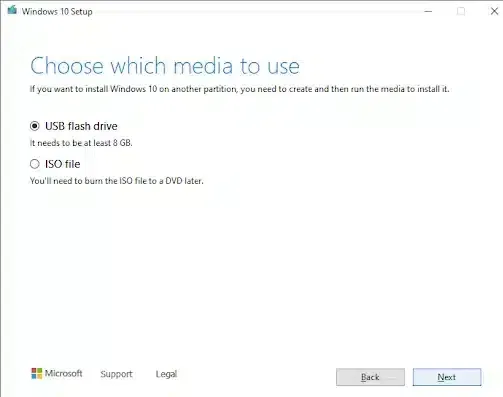
6. Finally, select your USB from the USB flash drive option, and the installed Windows file will start to download to the USB drive.
7. The downloading process will take a long time; make sure the process continues without any interruption until it created a bootable USB drive.
How to Downgrade Windows 10?
First of all, you need to create a backup to save your important data, as a new install can cause the loss of data. We will explain the entire method of downgrading Windows 10 to Windows 8/8.1/7, or even Windows XP.
Take your bootable USB with the Windows you require, connect it to your computer, and restart the computer. You need to change the booting process without booting your system from the hard drive.
The booting depends on the motherboard manufacturer, and you can use several keys i.e. F2, F8, or F9 to change the boot menu. It can be possible from the BIOS settings.
Enable booting from the USB drive by pressing a key, and a new screen will be opened with the name Install Windows, here you need to set your language, time, time zone, keyboard, and input method. Complete the settings, and click on the Next button.
On the next screen are asked to select an option from both; Upgrade and Custom. After selecting the option, follow the on-screen instructions, and one thing is important, deleting or formatting any partition can cause you to lose your data. But, if you have backed up, nothing would be lost.
After completing the entire process, you will have brand new Windows, now it’s time to install drivers that suit your system, so everything works properly. Copy your backup, and have a wonderful experience of downgrading Windows 10 to any older version.
How to Install Windows 10 from USB?
1. Connect your bootable USB to a USB port on your computer.
2. Go to the BIOS of your computer and change the boot order of your system.
3. Press a key to boot from the USB, and you are directed to a new page Windows 10 installation.
4. On the page, you are asked to select language, time zone, currency, keyboard settings, etc.

5. Click on the Next button.
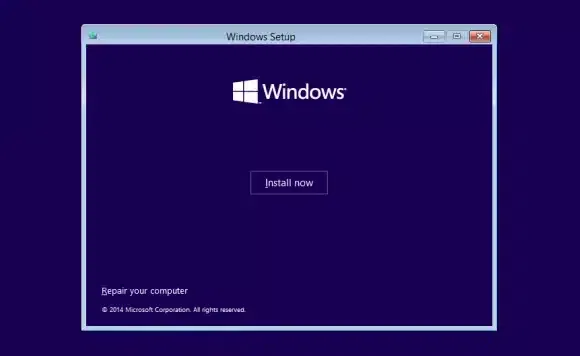
6. Click the Install Now button, and activate your Windows by entering the required product key of Windows 10, as demanded by the system.
7. If you don’t have a product key click on the prompt. I don’t have a product key
8. Select the edition of Windows 10 from the prompt list.
9. Click the Next button, and tick the checkbox I accept the license terms.
10. Select the type of installation, as you need to select Custom, as it will install fresh Windows 10 on your system.
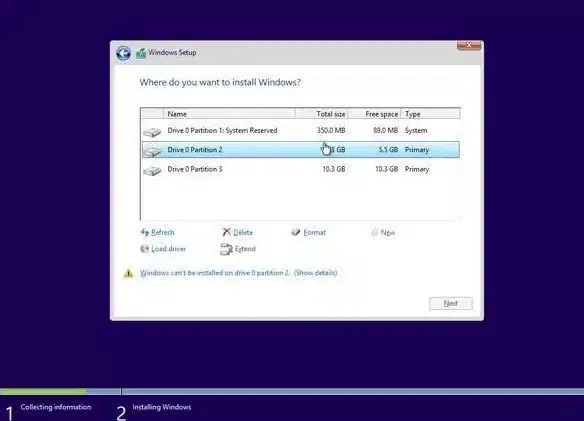
11. Click on the New Button to select the space for installing Windows 10 on your hard drive. Here you have to provide the space in MB and click on the Apply button.
12. It will be divided into two partitions; one by default and the other for installing Windows 10 files.
13. You need to select the second partition and click on the Next button.
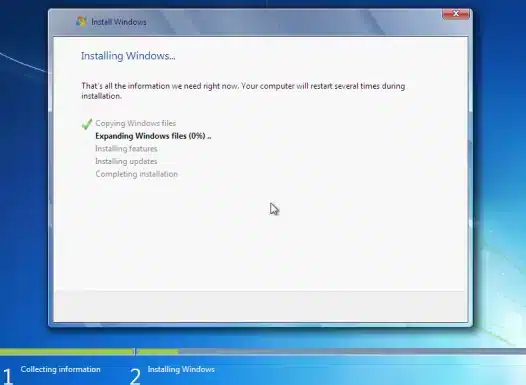
14. The installation will start within a few seconds, and you can monitor its progress in percentages.
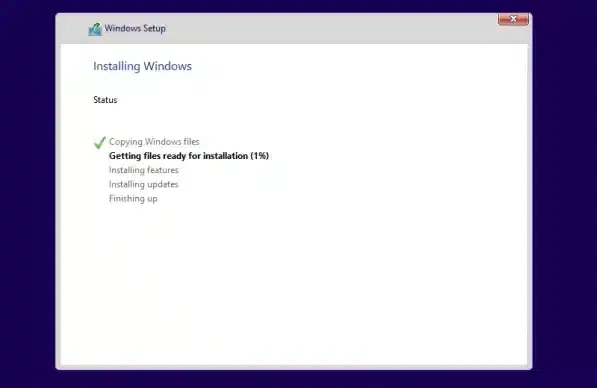
15. The process will take time to complete and maybe your system will restart automatically multiple times.
16. On completing the installation process, a new screen will be opened.
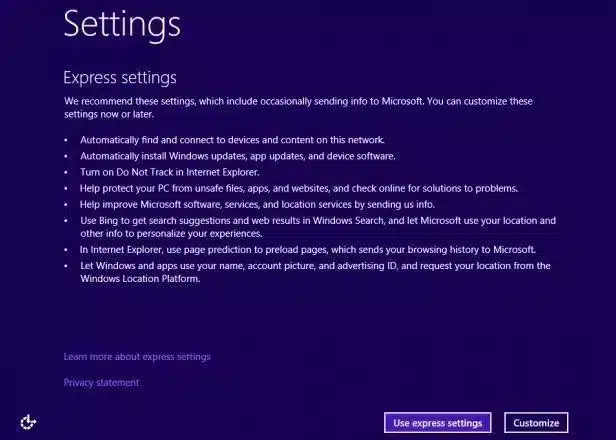
17. Select your region on the new screen, and click on the Yes button.
18. You can use your Microsoft account to sign in, if not, click on Skip this step, and create a new account, and you are asked to wait.
19. After a few minutes, Windows 10 will appear on your desktop.
How to Install Windows 8/8.1 using Bootable USB?
You can install Windows 8 from a USB drive within 20 to 30 minutes. You have some requirements to complete the process such as;
- 4GB flash drive for 32-bit and 8GB flash drive for 64-bit
- DVD or ISO file of Windows 8.8.1
- A working computer with installed Windows.
Currently, most of the computers and laptops are embedded with USB connection while avoiding optical drives i.e. CD or DVD drives. For this purpose, you need to create an ISO file including all data of the Windows 8 setup DVD.
Next, you need to burn the ISO file to a USB drive with the help of Rufus or other any such program. Now create a bootable USB with Windows 8 data.
Select the partition of the hard drive and Target system options. In the case of a UEFI-based system, the options need to be changed to GPT and UEFI.
It’s time to start the installation process from your USB device. In case any error occurs in the installation process, you need to go to the BIOS of your system and change the boot order.
Note: UEFI-based systems aren’t capable of booting Windows 8 Setup using a USB drive. To solve the issue, simply copy all files from the USB drive to a folder on your PC. Use the older FAT32 file system to format your flash drive manually. Copy all files back to your flash, and start the installation process for Windows 8 again.
How to Install Windows 7 using Bootable USB?
1. Connect your bootable USB to your computer’s USB port, and click to Start button to start your computer.
2. Press any key to boot from the USB.
3. Select your language, time zone, currency, keyboard settings, etc, and click the Next button.
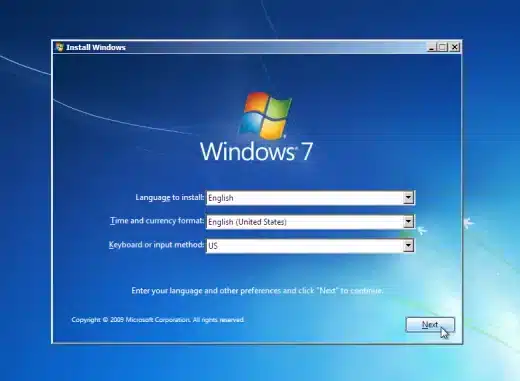
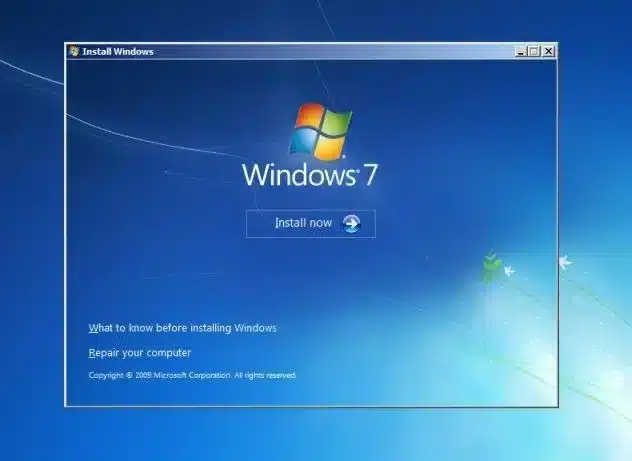
4. Start the installation process by clicking on the Start Now option.
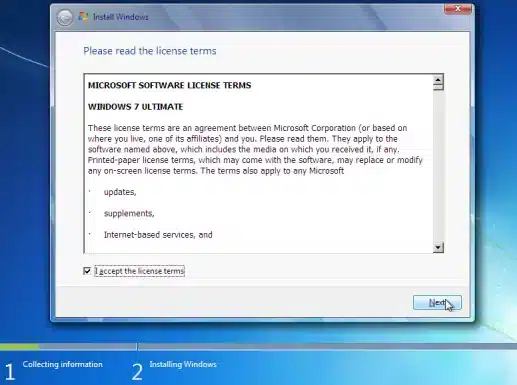
5. Tick the checkbox with I accept all terms, and click on the Next button.
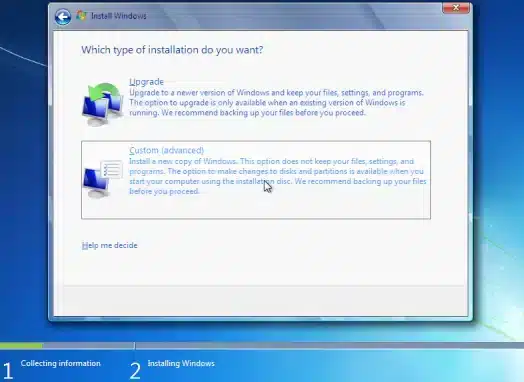
6. You are allowed to select the type of installation from Upgrade and Custom. The upgrade type allows you to keep your current files, settings, and apps. Whereas, Custom installs the fresh installation of Windows.
7. So you need to select the Custom option.
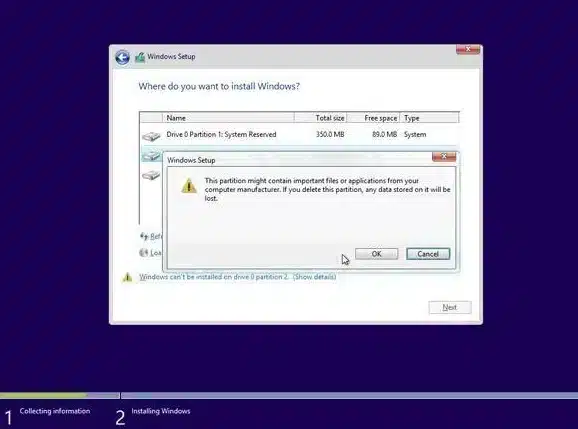
8. Remove all existing partitions by selecting exclusively and pressing Delete and the next OK button.
9. Before deleting existing partitions, you need to create a backup for your hard drive to save your data.
10. Create new partitions, select the Drive option, and click on New while selecting the size of new partitions.
11. Click the Next option.
12. Click OK to accept the new partitions.
13. Click on the Format option to format your new partitions, and press the OK button. Repeat the process, if you want to create more partitions.
14. Start installation while selecting partition for the purpose, and click on the Next option.
15. Enter your username, if you want to change the default username, and click the Next option.
16. Enter your password, or you can skip the option.
17. Everything is alright, and you are ready to use the fresh Windows 7 on your system.
Concluding
So, friends, it is the procedure that you need to follow to install your preferred Windows for your system. The procedures are simple and do need not any professional skill, but you need some care for the purpose. The most important fulfill the basic requirements of the Windows type you want to install for your system.
FAQs
Simply connect your USB to your system and turn it on. It will start installing automatically, if not, go to BIOS and change the boot order.?
The Windows 10 installer media requires a USB drive with FAT32 format for running the installation process.
It requires a minimum of 4GB of free space, and it should be empty.?
No, you can the USB drive for installing Windows only for licensed user’s computers.?