Install and use Homebrew on macOS helps us to use a command line interface for performing multiple functions while running commands in the Terminal. It empowers the command line interface a lot and allows us to get text-based feedback after typing commands. We also call it Shell
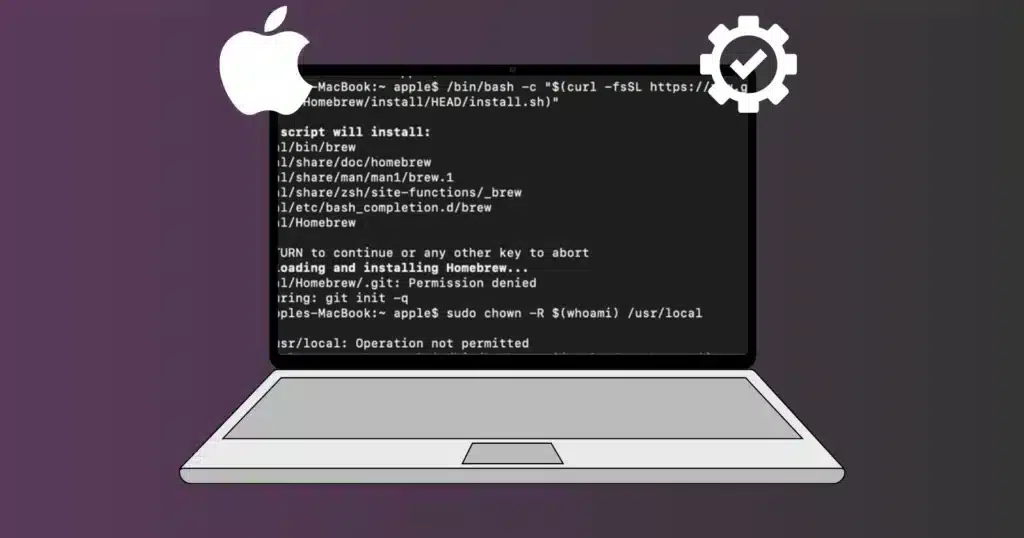
Image Credit: Softmany Team
It also offers innovative features for macOS likewise on Linux and other UNIX systems. As we know, macOS isn’t shipped with a package manager such as Homebrew. Package managers are embedded with a plethora of software tools for automating multiple tasks such as installation, configuration, upgrades, and so on. So, the Homebrew is the best free and open-source package manager for macOS for installing applications that aren’t available on Apple.
What is Homebrew?
As we aforementioned, Homebrew is a free and open-source package manager for macOS to enables Apple users to install, update, uninstall, and other developer tools i.e. Python, Ruby, and Node.js. The first and foremost benefit of Homebrew is to apply limitless commands to automate your tasks reliably. Some of the important tools you can use are;
- Use the ImageMagick tool for converting images into any other format.
- Use Archey for sharing the local host with your team.
- Use the hub tool to get the best results with Git
- Use tldr for practicing examples about using the command line
What are the Requirements to Install Homebrew on Mac?
The first thing to install and use Homebrew on Mac is to fulfill the requirements such as;
- Apple Silicon or 64-bit CPU
- macOS 10.14 or later
- Bourne-compatible shell (bash or zsh syntax)
- Xcode’s command line tools (we explain how to install the tools in the following section).
How to Install and Use Homebrew on Mac
Now, we will discuss how can you install and use Homebrew on Mac. Here are some quick ways for your ease to select and get Homebrew by following the instructions;
Method 1: Install Homebrew
Homebrew is a powerful package manager used by developers to install software packages on Mac, no matter; whether the Mac is Intel or M1. Keep in mind, that it also demands a strong password for your Mac, otherwise, you can’t install it, if your password is blank. Follow the given steps to install Homebrew for a Terminal Zsh, the Z shell for the latest versions of Mac.
- Open your Mac, and check all requirements are available on your Mac.
- Install Homebrew from the official website.
- For Mac M1, you need to update the configuration of the shell.
- Start installing packages.
- Confirm your Installation
- Now, you need to check, if the Homebrew is installed on your Mac or not.
Type brewIf the Homebrew isn’t installed, the reply is;
Zsh: command not found: brewMethod 2: Use Script to Install and Use Homebrew on Mac
You can use the installation script offered by Homebrew itself. Follow the given steps;
Type the following on your search bar
curl -fsSL -o install.sh https://raw.githubusercontent.com/Homebrew/install/HEAD/install.sh- You are asked to enter a password.
- When you enter your password, the numbers can’t be visible, simply press the Enter key after entering the password.
- Next, you are asked the Homebrew installation script to enter the password you are using to sign in to your Mac.
- Here also the password characters can’t be visible, enter the password and press the Enter key.
- You can check if the Homebrew is installed or not by typing Brew in the search box.
- In case of Homebrew not installed on your Mac, you will see;
Zsh: command not found: brew- If the installation is successful, you will see “Your system is ready to brew”
- You can use the following less command to review what the script will do
Less install. shHow to Put the Directory
On completing the installation process, the next step is to put the directory. Home Brew uses environment variables for storing the executables at the front of the PATH to make sure the addition of tools that are part of macOS also.
Whatever file you are using depends on the macOS version such as ZSH is the default shell for the latest macOS versions, whereas, Bash shell belongs to old Mac versions. Follow the given steps for executing the following commands;
Type echo $0Now select file; bash or zsh
If you select zsh, select the file to open ~/.zshrc in your editor
nano ~/.zshrcIn the case of using Bash, you need to open file~/.bash profile
nano ~/.bash profileEnter the following lines at the end of the file after it opens up in the Terminal.
~/.zshrc# Add Homebrew’s executable directory to the front of the PATH export PATH =/user/1oca1/bin:$PATH
Press the ctrl key + O to save changes, and press the Return key on prompting.
Press X while holding the CTRL key to exit the editor, and return to the Terminal prompt.
Restart the Terminal app to activate the changes.
Now, load the file by using the following source command, if you are using .zshrc execute the following command;
source ~/.zshrcFor the .bash profile, execute the following command;
source ~/.bash_profileAll the changes affect your path environment variable correctly, and any time you log in to your Terminal app, the configuration file will be executed automatically.
Finally, execute the following command to verify the setup of Homebrew is correct;
brew doctorIn case of no update, the following comment will appear on Terminal;
OutputYour system is ready to brew.
You may have received a warning “Run another command” also.
How to Check List of Installed Packages
You can check the list of installed packages by entering the command;
$ brew listA diagram of packages and decencies will appear for you to see;
$ brew deps—tree—installedNow you are allowed to use Homebrew for installing packages;
How to Reinstall Command Line Tools after macOS Upgrade
In case of upgrading your macOS to the latest version, the Command Line Tools can be removed, and you can see the following error;
Xcrun: error: invalid active developer path (/Library/Developer/commendLineTools), missing xcrun at: /Library/Developer/CommandTools/user/bin/xcrun
You need to enter the following command to show Command Line Tools
$ xcode-select –p/Library/Developer/CommandLineTools
You may find the Command Line Tools folder with missing essential folders and files such as;
$ 1s -1/Library/Developer/CommandLineTool$ brew list$ l /Library/total 0drwxr-xr-x 5 root wheel 160 Jan 9 07:43 Librarydrwxr-xr-x 5 root wheel 160 Apr 24 16:19 SDKsdrwxr-xr-x 7 root wheel 224 Apr 24 16:19 usrYou can find it as given below after an upgrade;
$ ls -l /Library/Developer/CommandLineToolstotal 0drwxr-xr-x 7 root wheel 224 Apr 24 16:19 usrMaybe, the “brew doctor” has error as given below, even after the Homebrew is installed.
% brew doctorWarning: Git could not be found in your PATH.Homebrew uses Git for several internal functions, and some formulae use Gitcheckouts instead of stable tarballs. You may want to install Git: brew install gitWarning: No developer tools installed.Install the Command Line Tools: xcode-select --installIn case of the following error, you need to install Xcode Command Line Tools.
$ xcode-select --installVerify the pop-up message to install the tools.
A progress indicator will appear to show the downloading progress.
Confirm the completion of installation, and verify the successful installation of Xbode Command Line Tools
$ xcode-select -p/Library/Developer/CommandLineToolsTry to run Git, if it is possible.
git --versiongit version 2.30.1 (Apple Git-130)How to Update Mac Homebrew
Homebrew packages require a regular update, so it works properly. Follow the given steps;
- Run brew update in the Terminal app
- Next, run Brew outdated in Terminal to find the packages that need updating.
- Run brew update package name in Terminal for updating any specific package.
How to Uninstall Homebrew from Mac
You can uninstall Homebrew from Mac using the Terminal app. You need to enter the following command for macOS Big Sur, Mojave, Catalina, and later to uninstall Homebrew
/bin/bash -c “$(curl -fsSL https://raw.githubusercontent.com/Homebrew/install/HEAD/uninstall.sh)”
Likewise enter the following command for uninstalling Homebrew from macOS High Sierra, Sierra, EI Capitan, and older;
ruby -e “$(curl -fsSL https://raw.githubusercontent.com/Homebrew/install/master/uninstall)”
How to Uninstall Homebrew Packages from Mac
Unlike to uninstall the entire package manager, you can uninstall any specific package from your Mac;
Ensure the packages that you need to remove do have not any dependencies with the packages that are working properly. You can check it by entering the following command;
brew deps package name
you can ignore the located dependencies by typing the following command;
uninstall –ignore-dependencies package name
run the following command to uninstall the package;
brew uninstall package name.
How to Clear Clutter Created by Homebrew on Mac
The downside of the Homebrew is that the versatile files and configs start creating a large pile of clutter on your Mac. During any new update of the package or Homebrew itself, a copy of the old version is created and can consume a lot of storage space. Run the brew cleanup –n command in the Terminal and check the total space covered by the old files.
CleanMyMac X is the best solution to remove all clutter created by Homebrew easily. Follow the given steps;
Run a System Junk Cleanup process by clicking on the ‘Clean’ option.
Click on the Review Details to review the content you’re going to delete, so not no important content can be removed.
You can use the Smart Scan option also to scan thoroughly and detect every malicious thing automatically.
Alternatives of Homebrew for Mac
If you feel confused about using a command line interface and want to use some simple service. Here are some best alternatives of Homebrew for Mac.
Gitfox: get the best quality code and commit with Gitfox. It also offers the best working process with Git Smarter.
DevUtils: a plethora of sets of dev tools such as formatting JSON, debugging a JWT token, and a lot of others without any internet connection.
Permute: with quick and fast converting activities to any other format, the tool helps you to change videos, images, or audio within seconds.
Concluding
All-in-all, the installation and use of Homebrew on Mac is a little bit tricky, but, we hope you can do it easily while using the guide, we have arranged for you. We try our best to assist you, with how to install command line tools, programming languages, and other activities that are necessary for software development.
FAQs
You can install Homebrew in the /usr/local/bin directory on an Intel Mac, whereas, it will install in the /opt/homebrew folder on an Apple Silicon Mac.
Yes, you need to install Xcode Command Line Tools or even the full Xcode package for the purpose.
For personal use, it requires 1961.96 ft3 (0.05 m3) for the pot, 1.31 ft3 (0.037 m3) for the fermenter, and 1.41 ft3 (0.039 m3) for the bottles. To store all equipment, it requires 4.42 ft3 (0.125 m3) For a commercial operation, you need roughly 2.16 ft2 (0.200 m2) per barrel annually.