Have an app you want to share with the world? With a single investment of only $25, developers can unlock unlimited potential by publishing their Android apps on Google Play Store. There’s no better way for your project to reach beyond its borders and launch into success without additional costs.
With the proper knowledge and guidance, you can quickly take it from concept to design and upload it to the Google Play Store. We’ve got all the details, obtaining developer accounts, designing listings that stand out from competitors, age ratings for different audiences worldwide, and setting up prices & distribution methods.
So join us as we explore everything about launching an APK on Google Play Store for free.
How to Upload APK on Google Play Store Free: Easy Steps
App developers can make the most of their time and effort by taking a few simple steps to ensure success when uploading applications to Google Play Store. Knowing important details and configuration configurations for settings will launch apps quickly and with minimal hassle.
Uploading an APK to Google Play Store is as easy as this:
STEP 1: Get a Developer Account on Google Play
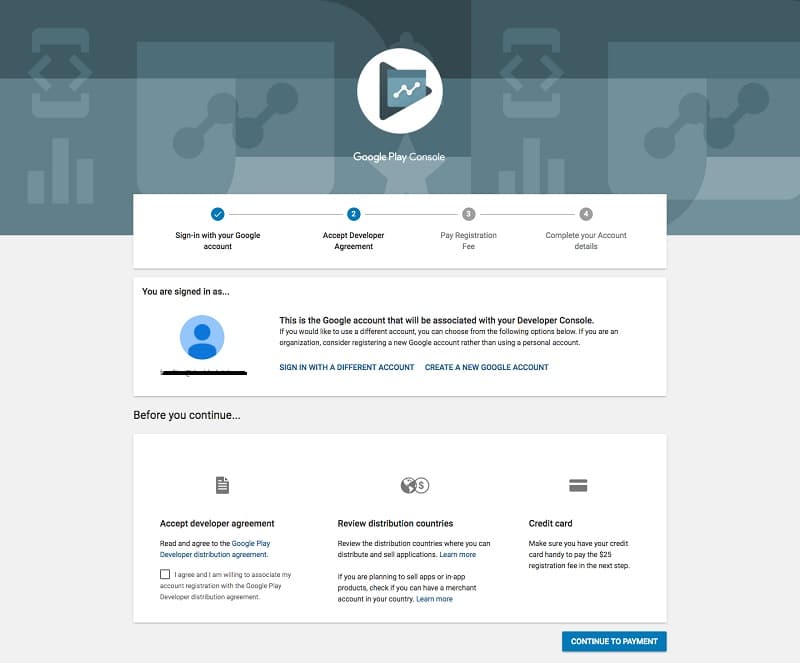
To create a Google Play developer account, developers need to fill out the sign-up form, which requires personal credentials such as name and country. Once submitted, the approval process takes up to 48 hours before access.
After approval, developers will gain access to control settings that allow them to easily upload their Android app APK file onto the store by following simple steps on the page. In addition, they must pay a one-time fee of $25 US dollars through a credit or debit card to complete their registration process.
STEP 2: Sync Your Developer Account with Your Google wallet Merchant Account
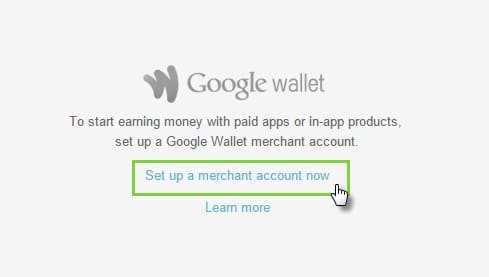
Before uploading an APK file onto the store, developers are encouraged to sync their Developer account with a valid Google Wallet Merchant Account to track and manage any app sales made through the store.
This is done by signing into their Developer Console and navigating to “Reports” > “Financial Reports,” where they should click “Set up a merchant account now” and enter all appropriate details therein.
Once finished, their accounts should be linked automatically, letting them start tracking any sales made through the store directly from within the console itself.
STEP 3: Create an Application
After creating an application, users must upload an APK (Android Application Package) to their Google Play account. This is done by entering their developer console’s “Application Details” section and selecting “Upload APK” from the left-hand menu.
The APK is then uploaded and displayed in the developer console.
STEP 4: Prepare a Listing for Your Android Application
Several key elements must be included to prepare a listing for your app, such as a name, description, short description, screenshots, app categories, and privacy policy. Additionally, it is important to use relevant keywords in the name and description for improved discoverability.
Screenshots should also be high quality with 2:1 or 16:9 ratios depending on the device type. The correct category must be chosen from games, education, or business choices. Lastly, select an age rating for your app according to its content.
STEP 5: Upload Your APK
The first step in uploading an APK onto Google Play Store is navigating to the “Release Management” page, and then selecting the “App Release” tab. From there, users can choose from four different release types – internal test, closed test, production, or open test.
Clicking on “Create Release” brings up the next page where users must choose whether to use the Google Play app store signing or opt out. The last part of this step is selecting “Browse files” to upload an APK and give it a name and description.
After reviewing all information provided and confirming it, users can press “Save” to complete the process.
STEP 6: Give Your Android App a Rating
It is important for apps on Google Play Store to be rated as failure to do so may result in removal. To start this process, users must go to their left-side menu and select Content Rating.
This step requires them to enter their email address and confirm it before moving on to the questionnaire, which rates the content of an application based on its descriptors (explicit language, alcohol/tobacco reference, etc.)
After filling out the questionnaire, users can calculate their application’s rating with the ‘Calculate Rating’ button followed by clicking ‘Apply,’ which finalizes their application’s content rating on Google Play Store.
STEP 7: Sort out App Pricing and Distribution
Pricing and Distribution must be configured properly when uploading an application to Google Play Store. Firstly, one must specify which countries they want their app to be available in. Then, they must choose whether their application will be free or paid.
However, once chosen, free applications cannot be upgraded to pay later on. The price of the paid app can also be modified at any time through the Pricing and Distribution tab. For apps designed for children under 13, one must select the Primary Child-Detected option when configuring settings in this tab.
Also, developers can allow or not allow ads within their applications.
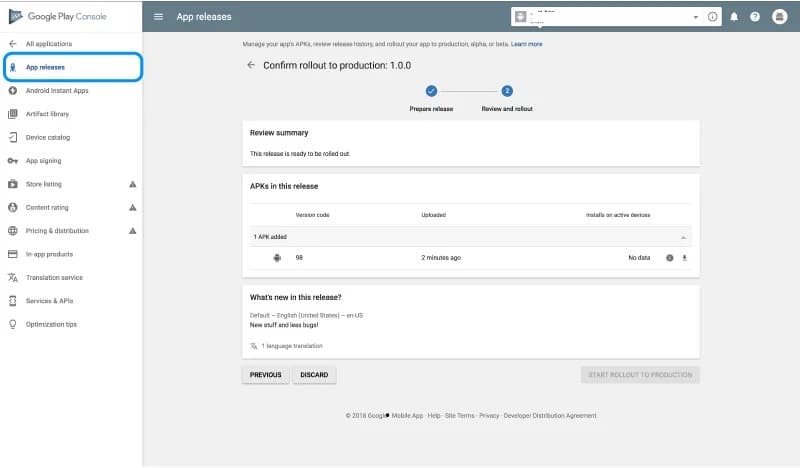
STEP 8: Publish the Application
Once all of these settings have been configured, it is then time to publish your application by going to the “App Releases” tab, then selecting “Manage Production” and “Edit Release” before clicking ‘Review’ and then “Start rollout to production.”
After that, clicking ‘Confirm’ will begin the publishing process. However, it can take hours or days until Google approves it. To avoid unnecessary delays, developers should create flawless applications before submitting them for review.
Is It Worth Getting Your App Featured On the Play Store?
Getting your app featured on the Play Store can greatly increase exposure and improve user downloads. Being featured in the store highlights your app as one of the best in its category and draws attention from potential users who may not have seen or heard of it before.
Not only does it draw more attention to your product from users, but it also increases downloads substantially due to increased visibility. This can lead to higher ratings and reviews, increased reputation, and higher ranking positions within search results over time.
Aside from that, featuring is a great way to showcase new features or updates on your app while giving users who haven’t downloaded it a way to do so.
Amplify Your App’s Presence: Unleash It on Google Play Store Now
As an aspiring app developer, uploading your APK on the Google Play Store for free may seem daunting but don’t fret. By carefully following the 8-step process mentioned above, your app will be up and running quickly.
Remember, however, that the success of your app ultimately comes down to the quality of the user experience. Take the time to research best practices and create a product that stands out in this crowded market.